Preface
I had shared how to install docker cli on Windows, and this post will share how to do it on Mac, now this post is for Mac user. In short Mac has more easier way to install docker cli.
Install Multipass
I use Multipass as VM management tool, because it is lightweight and free, not to mention it is easy to use.
Of course you can still use lima or colima as your VM management tool, but their setting are not that easy as multipass.
The easiest way to install multipass is to use Homebrew. Run the script below:
brew install --cask multipass
That’s all~
Install docker VM via Multipass
Using docker via multipass you need only one simple command.
| |
This command will create a virtual machine running the latest version of Ubuntu, with Docker and Portainer installed. After you launch the images successfuly, you can try the command below.
| |
How to use
Here is one simple command that we can execute the command in the docker VM
multipass exec docker docker version
or more complex one
multipass exec docker -- bash -c "docker version"
But, isn’t it no other way to simplify the command when we want to use docker?
Enable alias of the docker
Add this line in you .zshrc file. You might get different path, follow what you get from your terminal.
| |
Then run command below
| |
That’s it! Now you can start docker when you execute any command start with docker just as easy as usual.
Use GUI to management
You might notice that once you install docker via multipass, it will also pull Portainer image for you.
| |
As you can see it pull portainer ce version, it start when the docker container running.
You can access it directly by your browser just go to http://192.168.64.7:9000/
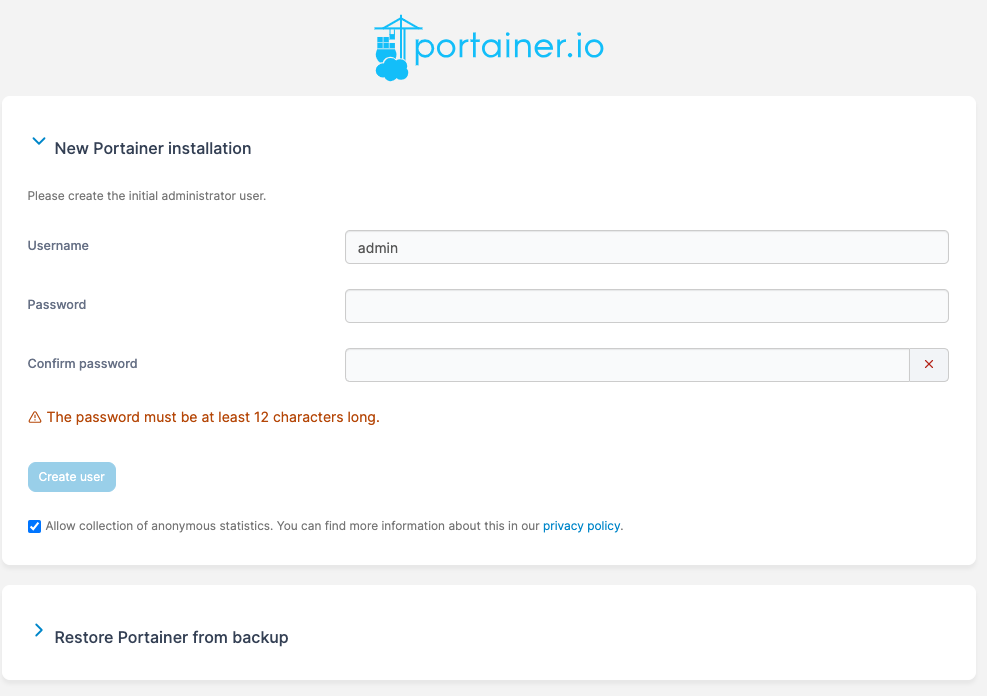
If you are first time to launch Portainer you will need to creat account first

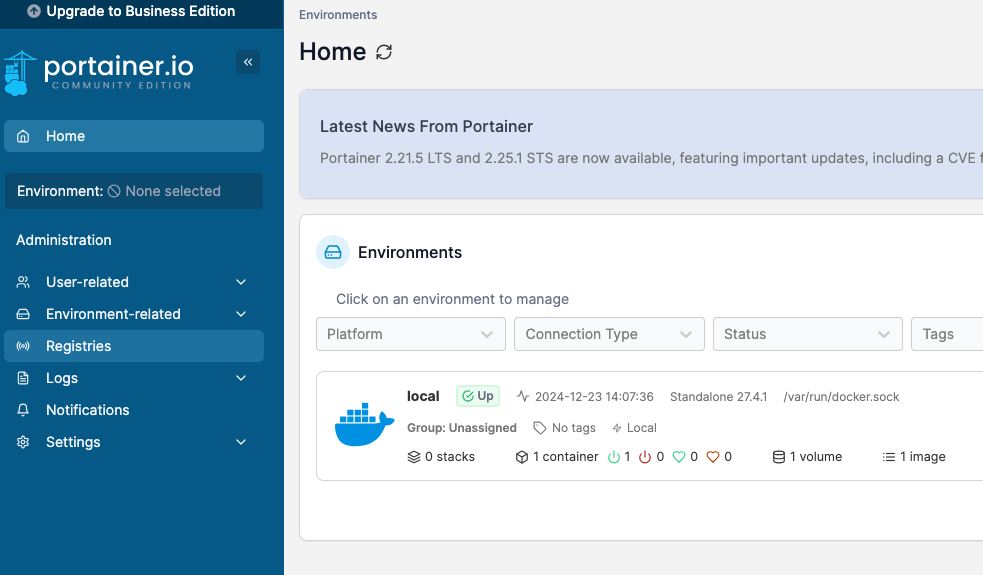
Once you created you will see the page below

Choose to use local environment. Then you can see the environment is already prepared for you.

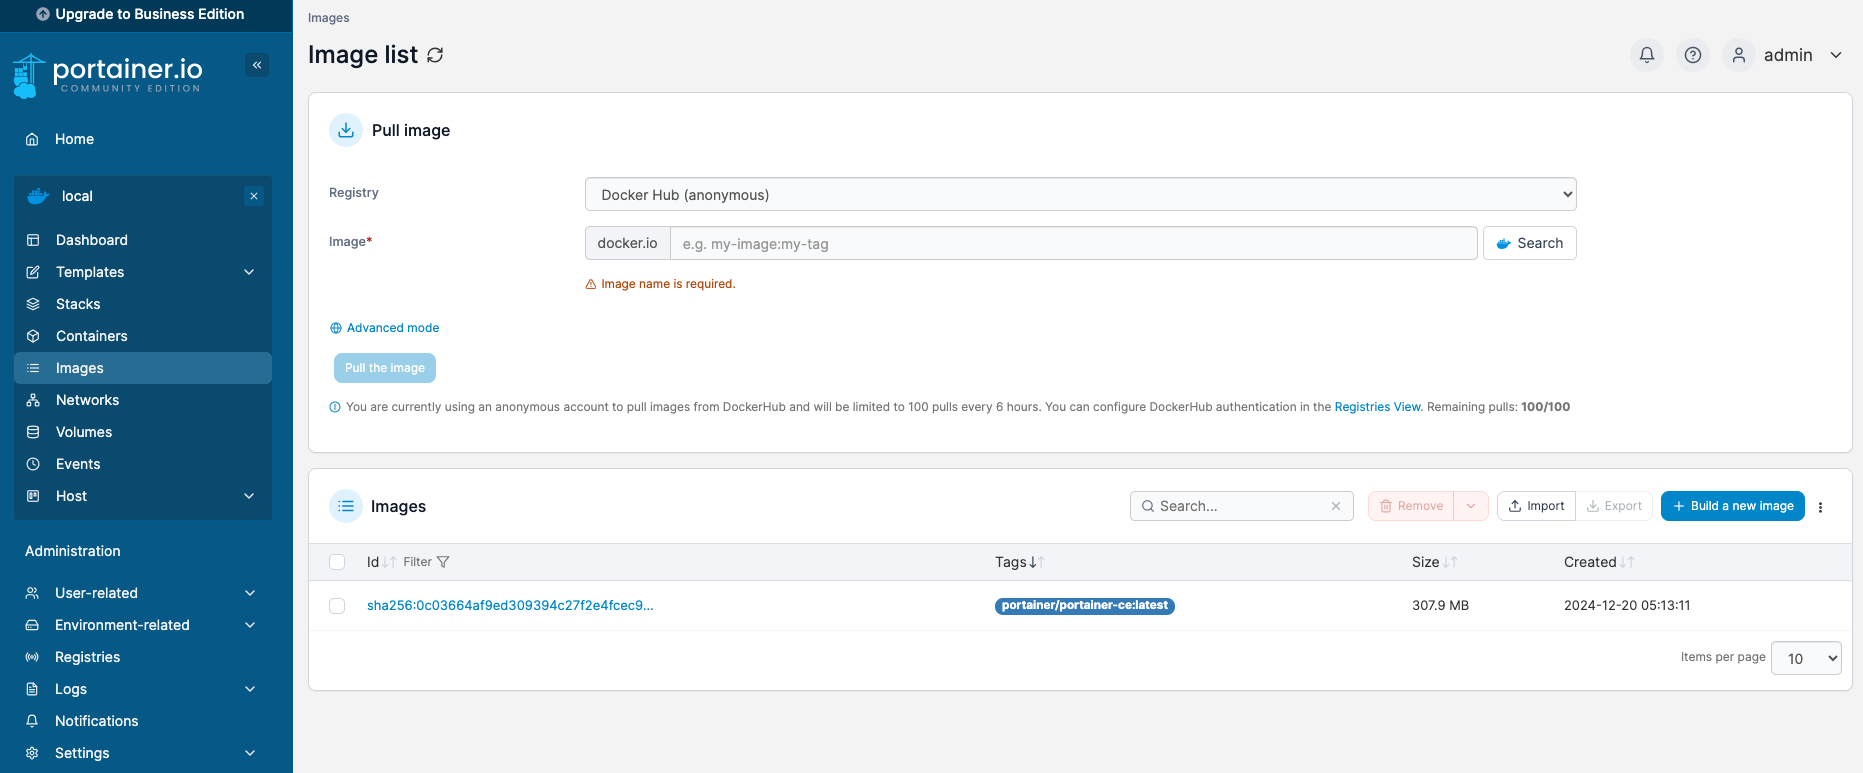
Then click the local container it just prepared for you, you will see the page below

Now you can pull/execute containers via GUI.